


Bikepacking FAQs: Quick Answers
Intro
This FAQ is for riders who roll regularly and want to take overnight trips off the beaten path. Short, precise answers help you choose a rig, set up bags, manage tires and repairs, and avoid the common mistakes that wreck handling or a night’s sleep.
FAQs
What bike is best for bikepacking?
A durable gravel or light touring platform with wide tire clearance and multiple mounting points is the best all-round choice. Gravel frames with 40–47mm 700c clearance (ETRTO ~622) or a 29/27.5+ hardtail are ideal for mixed surfaces; a steel or alloy frame offers crash resilience and rack mounts. Prioritize tire clearance, fork/frame mounts, gearing (wide-range cassette), and a comfortable geometry for loaded miles. If your route is technical singletrack, choose a modern hardtail or light trail bike instead.
Do I need racks, or are frame and handlebar bags enough?
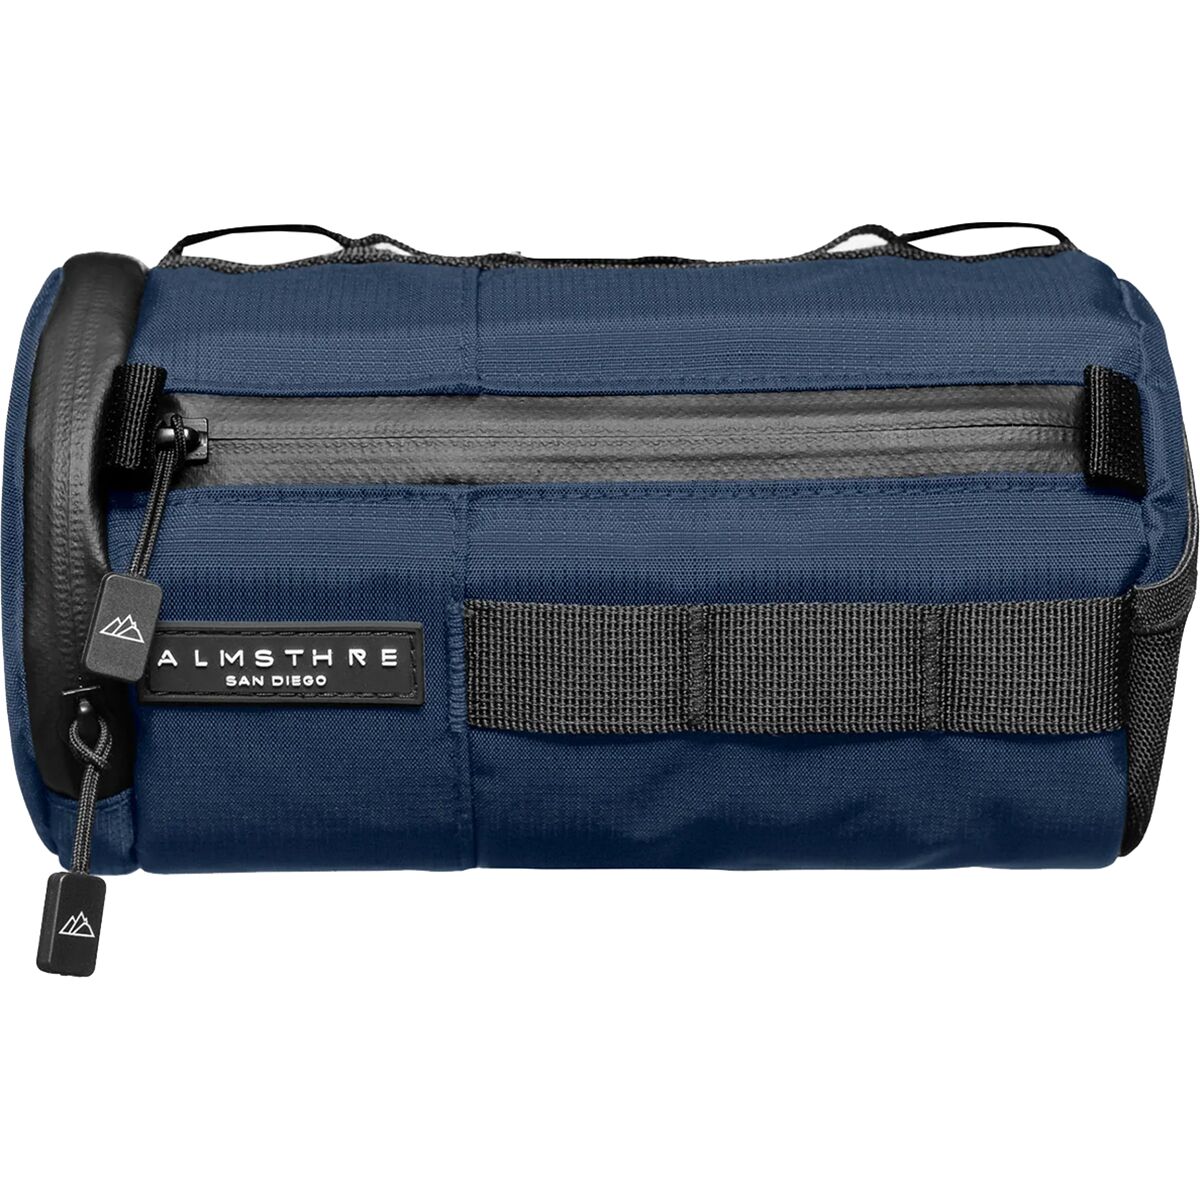
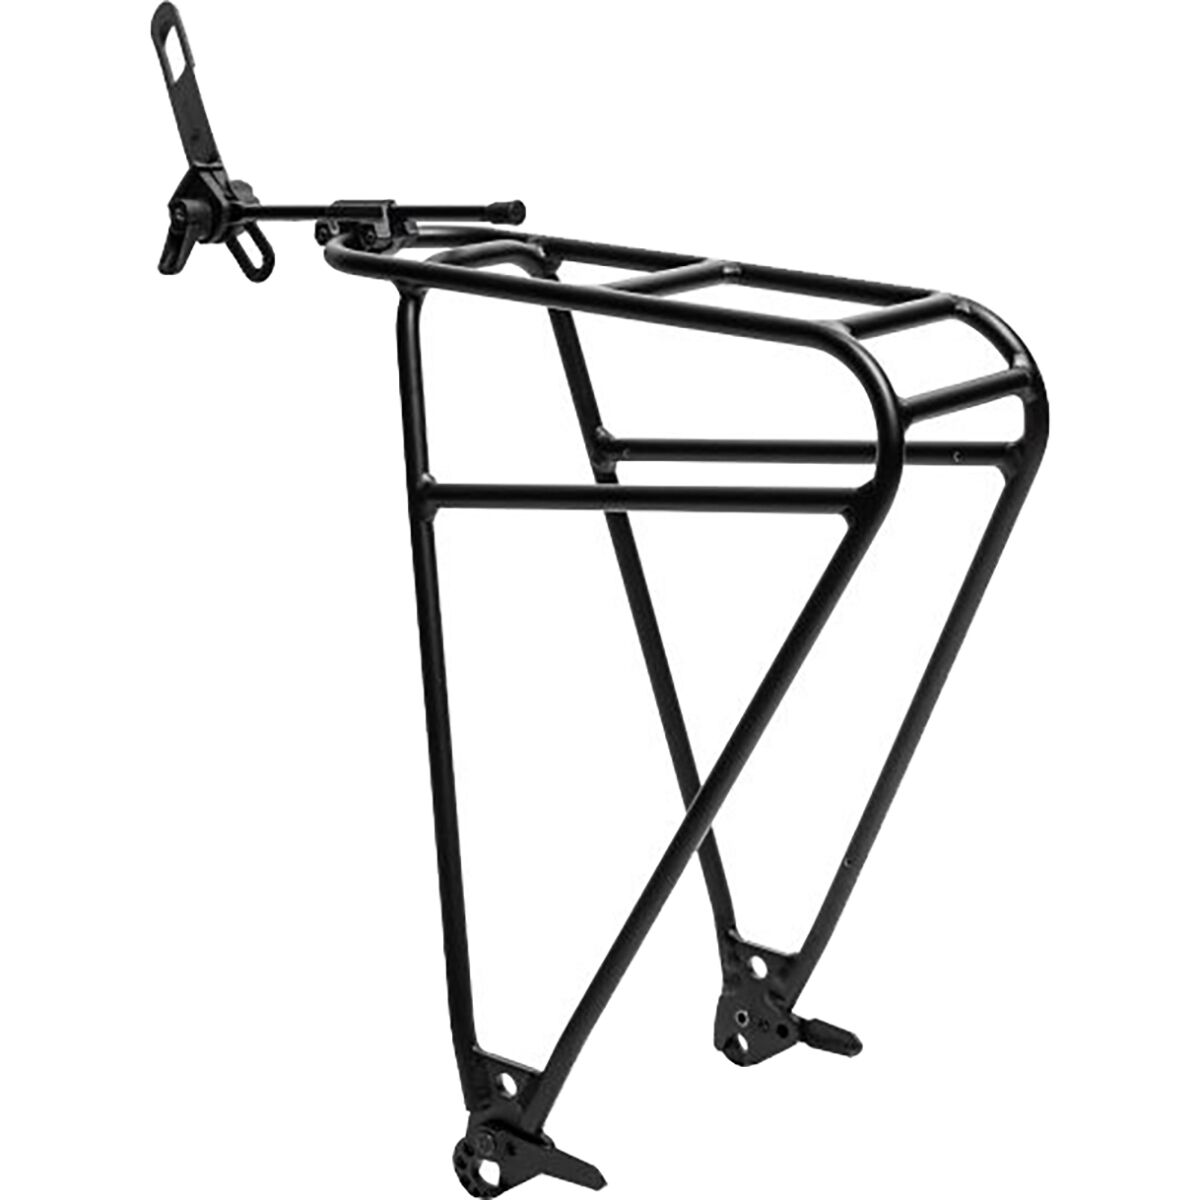
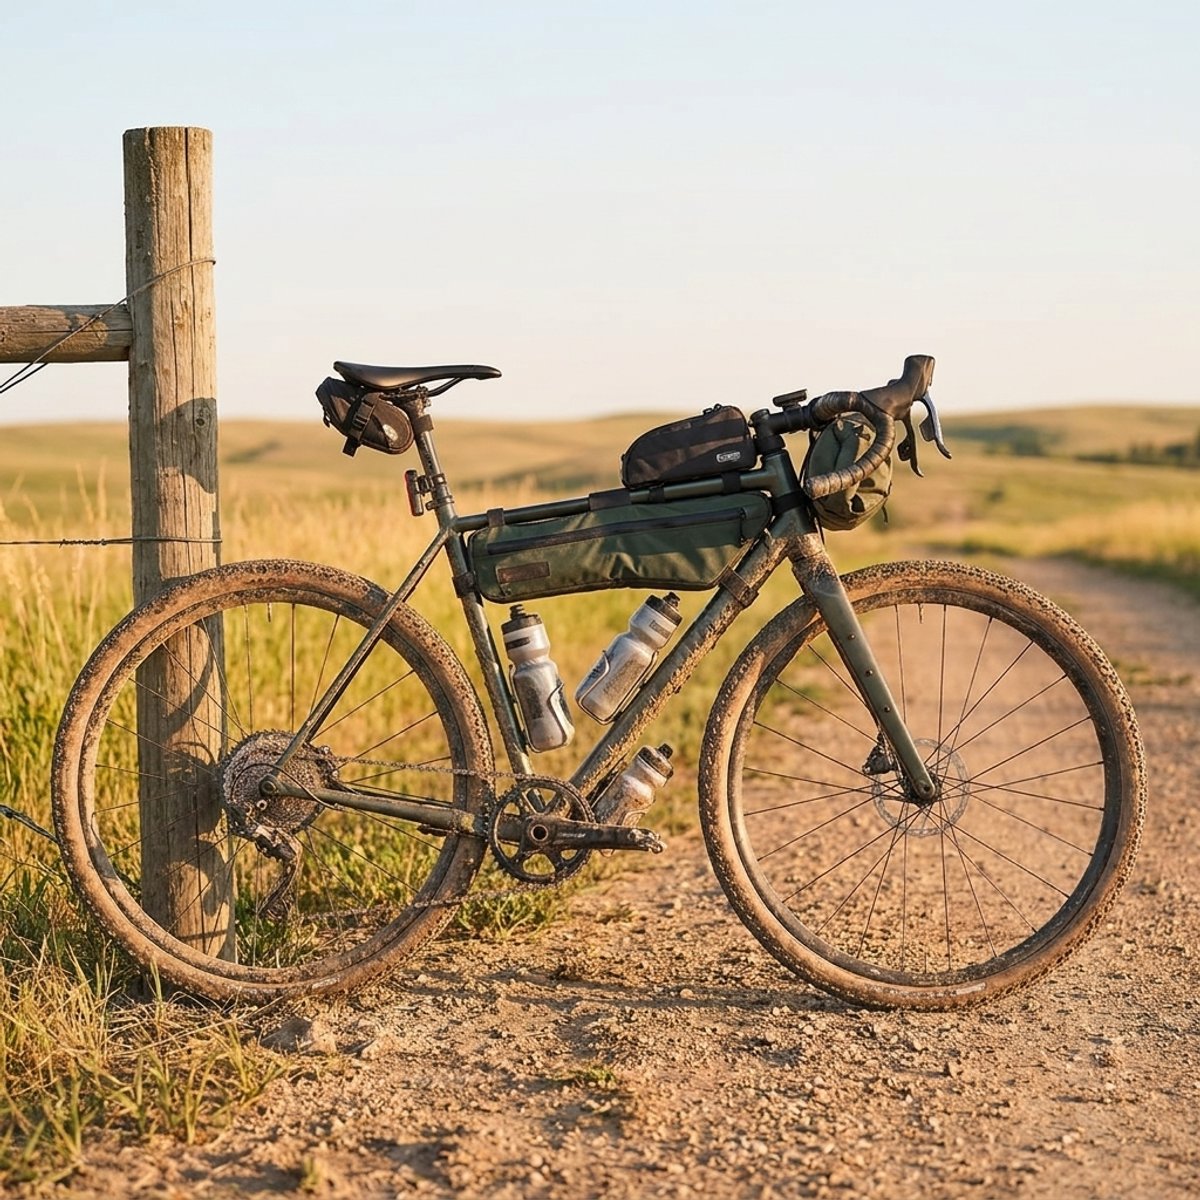
Use frame and handlebar bags for lightweight, off-road bikepacking; choose racks when you need higher capacity and stability for long paved tours. Frame bags keep mass centered and low—best for handling. Racks handle heavy loads (panniers) and are more secure for paved, loaded touring. Combine systems: a bedroll on the bars, frame bag for tools, and small panniers if you need extra capacity.
How much gear should I carry for a multi-day trip?
Pack for necessity: minimalist 3–6 kg (sleep system, shelter, cooking), standard 6–10 kg for three-season touring, heavier for cold-weather or long self-supported trips. Prioritize shelter, sleep system, and a reliable stove; drop redundancy on clothing. Weigh items and aim to keep the heaviest gear near the bike’s center to preserve handling. If in doubt, cut 10–20% of nonessential kit before leaving.
What tires and pressure should I run for bikepacking?
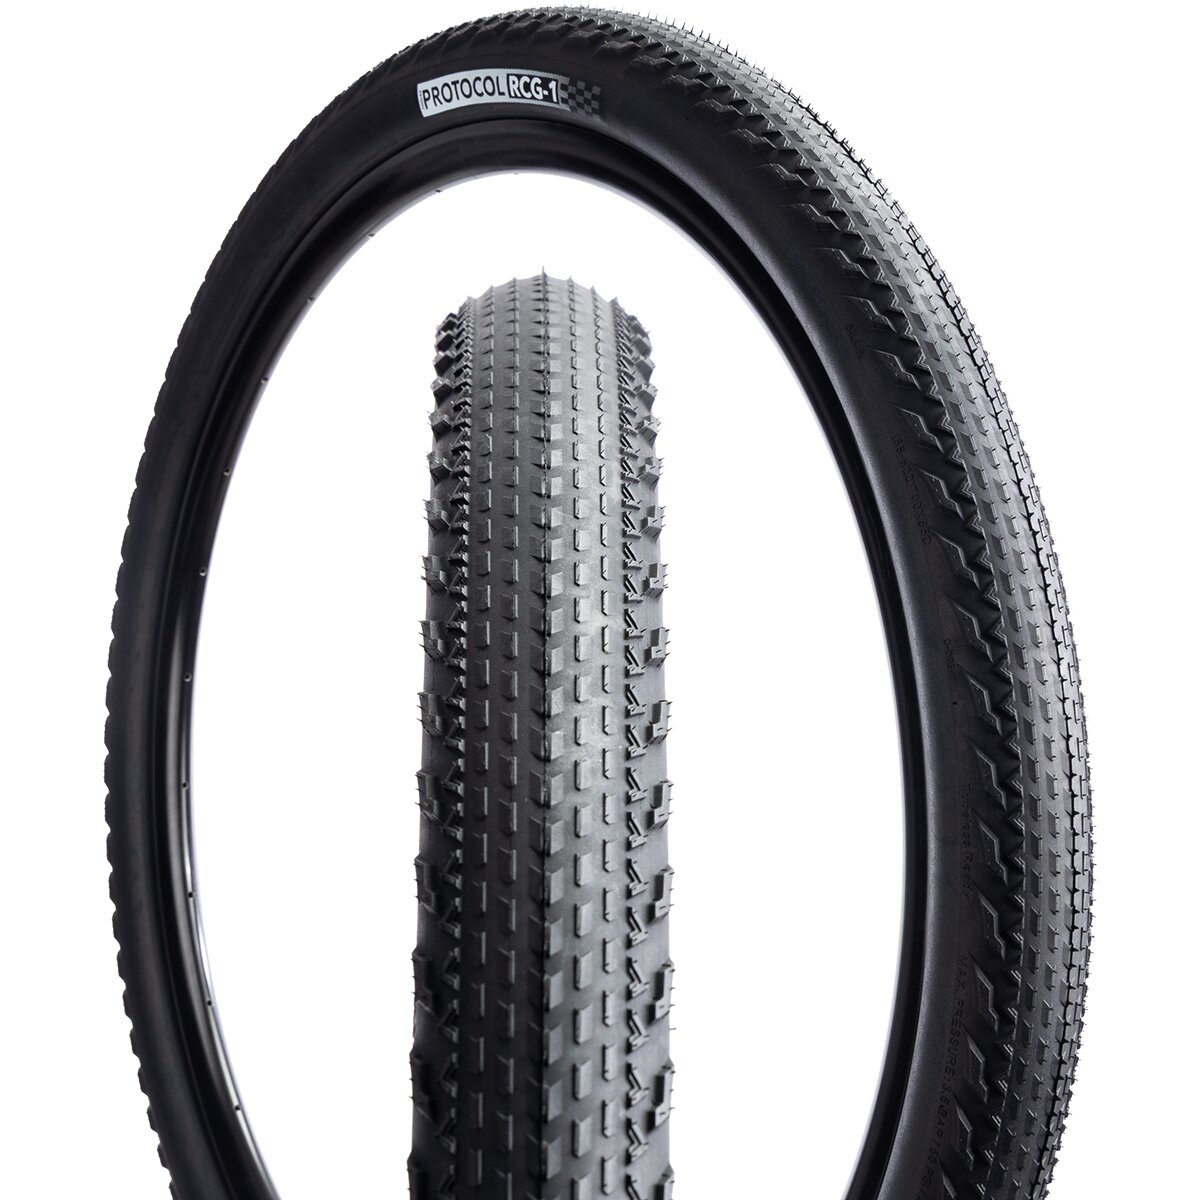
Choose tires suited to terrain: 700x38–47mm for mixed gravel, 27.5/29" 2.25–2.4" for rougher singletrack. Start with 30–45 psi (2.1–3.1 bar) for 700c gravel, and 18–28 psi (1.2–1.9 bar) on 29/27.5 plus tires, then tune by load and surface. Lower pressure increases traction but raises pinch-flat risk; tubeless lowers that risk. Always test pressure at ride weight and on similar terrain before committing to a multi-day route.
Should I run tubeless for bikepacking?
Yes—tubeless is the preferred setup for lower pressures and self-sealing puncture protection. Use 30–60 ml of sealant per 700c wheel and 60–100+ ml for larger-volume MTB wheels; carry a small sealant syringe for mid-trip top-ups. Fit reliable tubeless tape and a removable valve core for easy sealant injection. For remote trips, bring a spare tube and tire boot as a fail-safe.
What’s the essential repair kit for bikepacking?
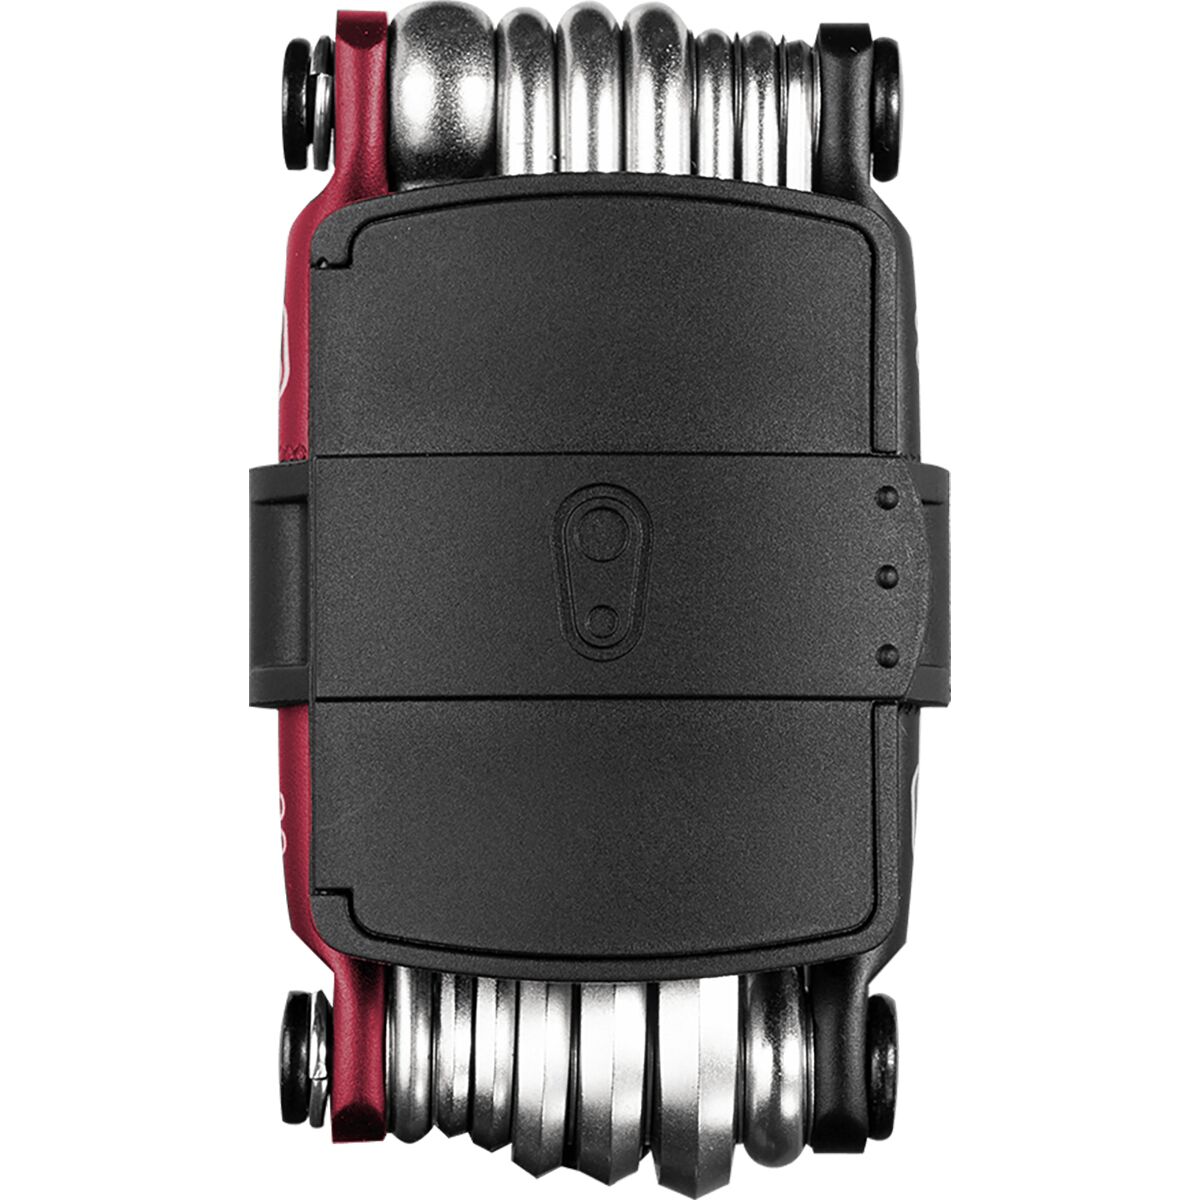
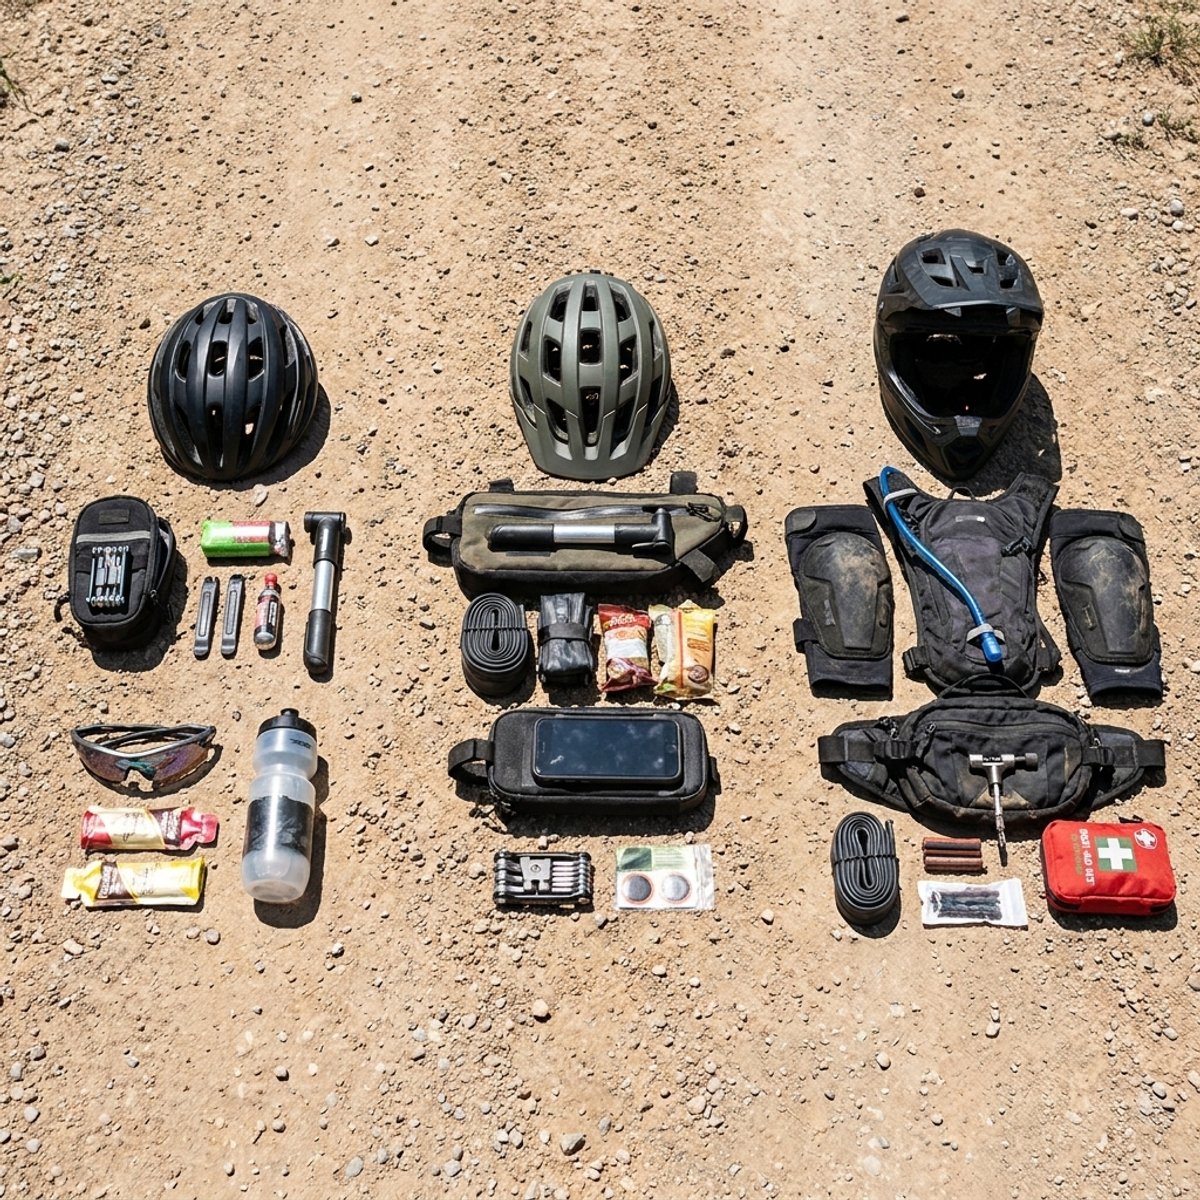
Carry a compact multi-tool, chain tool and quick link, spare tube(s) or tubeless repair kit, pump or CO2 inflator, patch kit, tire boot, and a few spare brake pads if long. Add a couple of spare derailleur hanger bolts and a small roll of zip ties. Keep tools organized in a seatpost or frame bag for quick access. Pro tip: put critical spares (tube, CO2) in a saddle or top tube bag for fast roadside fixes.
How should I distribute weight on the bike?
Keep the heaviest items low and centered—close to the BB and between the wheels—to preserve steering and stability. Place sleeping systems forward (top tube or handlebar roll), food and tools in a frame bag, and water midframe. Rear low panniers or a seatpack are fine but avoid hanging too much mass far behind the rear axle; that makes the bike squirrelly on descents.
How do I plan water and food resupply on remote routes?
Map resupply points and carry contingency water equal to expected gaps. Typical carry: 2–4 L in moderate conditions; increase for hot or desert terrain. Use a mix of bottles and a 1–2 L hydration reservoir for efficiency. Treat natural water with a filter, tablets, or boiling when unsure. Plan food by calories-per-weight—powdered meals, nuts, and energy bars keep pack weight low.
How do I choose sleep systems and shelter for bikepacking?
Prioritize the warmth-to-weight and packability ratio. For three-season riding a down bag in the 800–1000 g range and a 100–300 g inflatable pad with R-value ~2–4 is a good balance. A lightweight one- or two-person tent or tarp/tarp-tent combo depends on exposure. Test pitch and pack size at home; you’ll use shelter reliability far more than weight savings on bad-weather nights.
Is a 1x drivetrain better than a 2x for bikepacking?
1x drivetrains are preferred for simplicity, lower snag risk, and reliable shifting in dirty conditions—ideal for mixed-surface bikepacking. Use a wide-range cassette (e.g., 10–50T or similar) to retain climbing gears. 2x systems still work well for heavy loads on long asphalt climbs where finer gear steps are useful. Whichever you choose, carry a compatible quick link and check chain wear before the trip.
Do I need permits or land-use knowledge before I go?
Often yes—many backcountry or managed trails require permits, reservations, or seasonal closures. Check federal, state, and local land-agency rules for dispersed camping, fire restrictions, and stay limits. Plan alternatives for permit-only campsites. Practice Leave No Trace: pack out waste, minimize campfire impact, and follow local rules to keep routes open for riders.
What’s the best way to secure my bike and gear overnight?
Use a hardened U-lock or chain to secure the frame to a fixed object when in town; for backcountry, hide valuables and use a lightweight cable to deter opportunists. Remove electronics and keep them in your tent with you. If stealth camping, camouflage your setup and avoid obvious groupings of high-value gear at camp. Consider travel insurance for expensive rigs.
Key Takeaways
Choose a platform with tire clearance, mounts, and stable loaded geometry.
Keep heavy items low and centered; use frame bags for handling and racks for capacity.
Tubeless + sealant reduces punctures and allows lower pressures for traction.
Carry a compact, organized tool and spare kit tailored to remote fixes.
Related Blogs
Bikepacking Hub: Bags, Packing & Route Planning | Competitive Cyclist
How to Choose Tire Width for Road, Gravel & MTB | Competitive Cyclist
How to Pack for a Bike Ride: Road vs Gravel vs MTB | Competitive Cyclist
Panniers vs Backpack vs Frame Bag | Competitive Cyclist
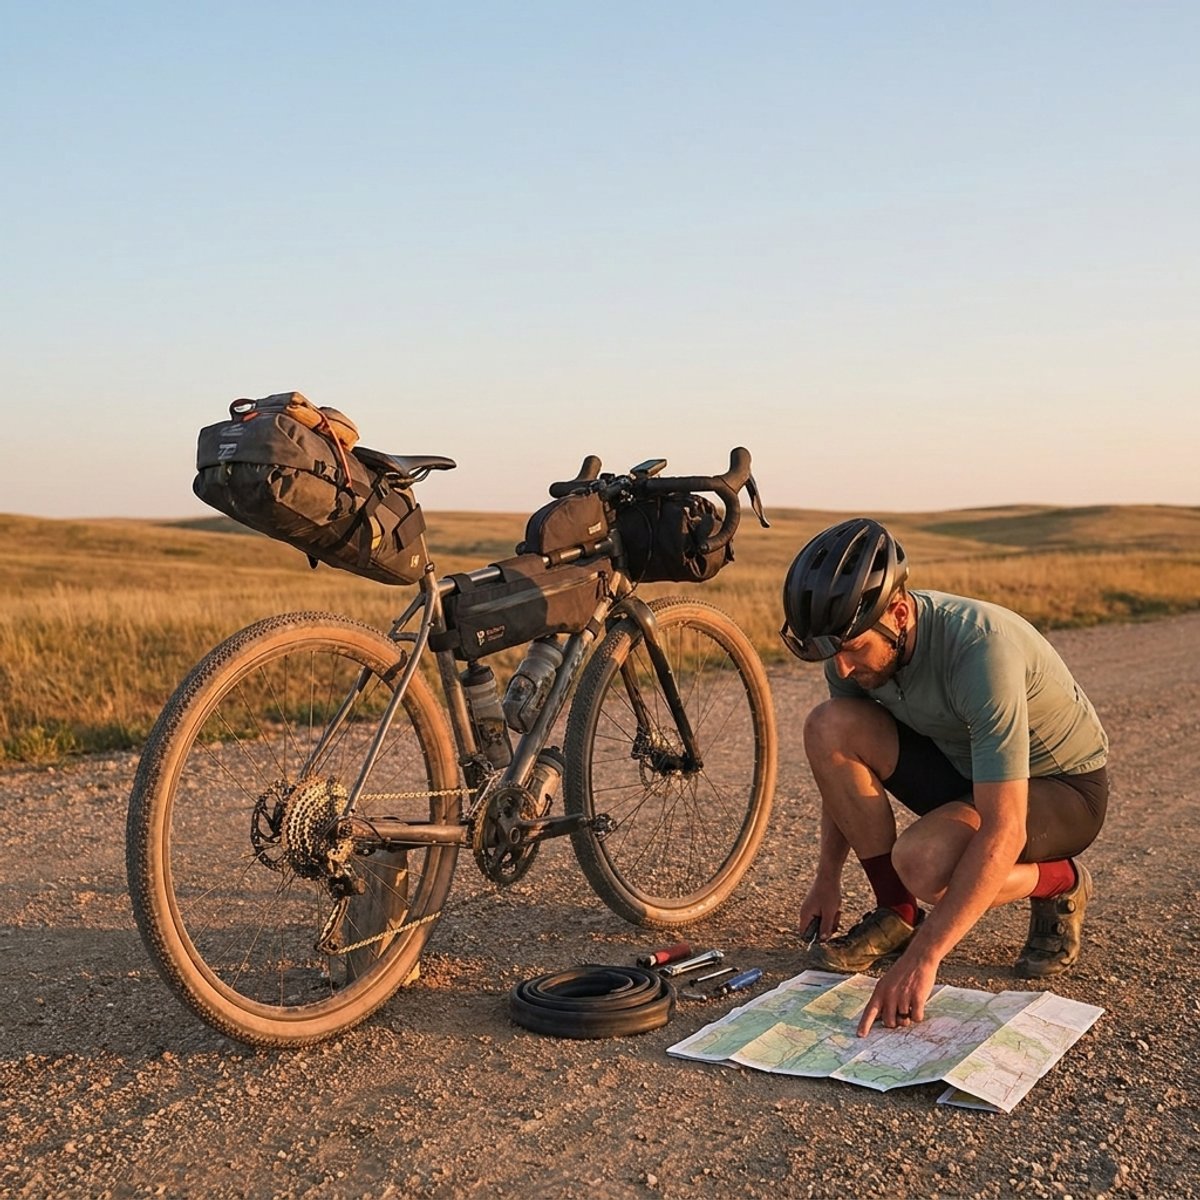
Bikepacking is touring with the luggage strapped to the bike instead of hung off a rack: lighter, quieter on rough ground, and possible on the bike you already own.
These are the questions riders ask before a first overnight, answered briefly: which bike works, which bags to start with, how much to carry, what tires to run, and what goes in the repair kit.
Related Categories

Related Posts
Frequently Asked Questions
What bike works for bikepacking?
Almost any bike you already own, as long as it fits you and has mounting points or room for strap-on bags. Gravel and hardtail mountain bikes are the usual picks for mixed routes; a road bike works for paved tours with a light load.Which bags do I need to start?
A seat pack, a handlebar roll and a frame bag cover most overnights. Start with a seat pack and a handlebar roll, ride once, and add a frame bag or top-tube bag only when you know what you kept reaching for.How much should my bikepacking kit weigh?
Most riders settle between 5 and 10 kg of gear before food and water for a two- or three-night trip. Weight matters less than where it sits: keep heavy items low and central, in the frame bag, so the bike still handles like a bike.What tires should I run?
The widest tire your frame clears, set up tubeless, in a tread that matches the surface you will spend the most time on. For mixed gravel a 40 to 45 mm tire with a fast centre and side knobs is the common choice.What repair kit do I carry?
A multi-tool with a chain breaker, a tubeless plug kit, one spare tube, tire levers, a mini pump, a quick link, a few zip ties and some tape. Practise using each item at home before the trip.